thanksgiving

12.25.2015


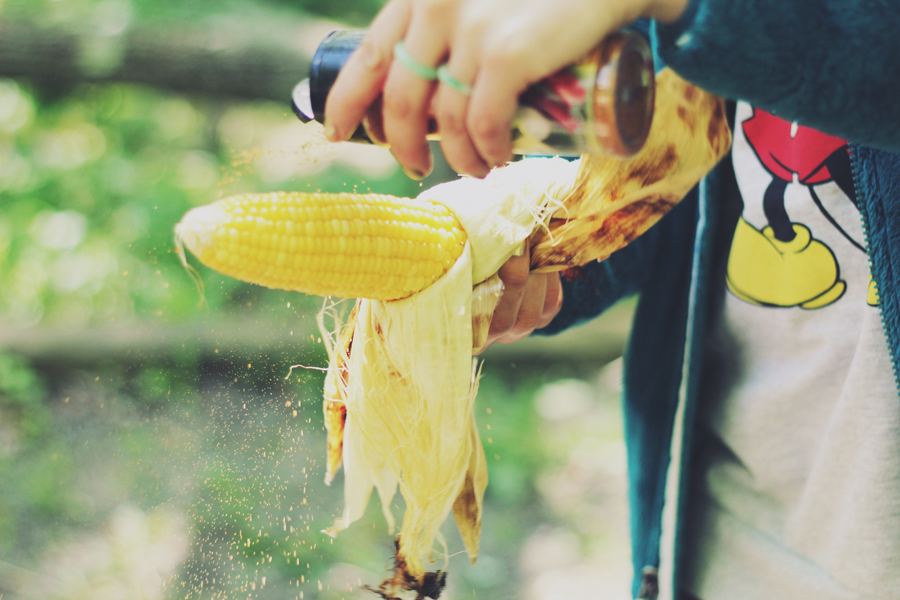
As I sit here basking in the glowing warmth of Christmas Day, I'm finally getting a chance to process photos from Thanksgiving. My favorite holiday held up again for an amazing vacation. We took our annual Thanksgiving Day hike with the dogs, we drank good beer, and shoveled our bellies full of home-cooked favorites. 

The vacation lasted for a full four days. Amidst the recent chaos, I had no idea quite how busy I was until I took the time to hit pause. I was reminded what boredom felt like. I enjoyed it too. Had it gone on longer, I might have gone crazy. Instead, its brevity gave me just the right amount of time to process. You don't realize how fast you're running, how much you're putting out instead of taking in, until you s-t-o-p. Sure, yoga allows me to pause each day, but it also involves rushing to the yoga studio, getting in my physical practice, sweating, and then biking home to quickly wrap things up before bed. It's not exactly stopping. 

So, thank you Thanksgiving for giving me the break I needed. For reminding me that the best creativity is born from moments when you have nothing to do. For surrounding me with fresh air. Let's remember to stop every once in awhile.

Happy belated Thanksgiving.

diy block print valentine’s day cards

2.06.2015

Note: This post was previously published here as a part of my freelance work. 
The holiday of love is upon us! Say what you will, but I love Valentine’s Day. I loved it when I was single, and I love it now that I’m in a long-term relationship. It’s an excuse to express one of the world’s most important emotions. Love for your mother, for your friends, for you significant other, for anyone who supports you through this life. Where would we be without love?

I also stand behind the belief that it doesn’t take a lot to express; the simplest acts can show someone what they mean to you. Putting a little work into a handmade gift is the ultimate gesture. It doesn’t take a lot of money, but it does take time and effort. The act of physically creating a gift for someone embodies thought. The end effect is much more personal and meaningful. 

So this Valentine’s Day, I want to introduce you to a medium you’ve maybe never experimented with: block printing. It’s really fun, and holds a world of possibilities. Dream up any design you’d like and then follow the principles below or simply download the patterns I’ve handmade and recreate those. Either way, enjoy the process, get creative with it, and tell the people around you how much they mean to you. 


What You’ll Need:
Roller or Acrylic Brayer
Lino Cutter with Changeable Heads
Tracing Paper
Soft Artist’s Pencil (2B or 4B is will work best)
Acrylic Paint
4” x 6” Blank Card
Process:
1. Trace your pattern onto on tracing paper using a soft pencil. 
2. Flip the pattern over, and place it on your rubber printing block. Make sure that any words appear backwards to you. 
3. Trace over the lines of your pattern using a pencil and be careful not to move the paper around. This will transfer your pencil marks onto the printing block, so that you have guidelines for carving. 
4. Using your lino cutter, begin cutting into the rubber block, following the lines you’ve made for yourself. You can adjust the line cutter heads whether you’re cutting out a big or small area. An important rule to note is that every area you cut away will be negative space, while the areas you leave will represent color.
5. Once you’re happy with your carving, clean off debris, and set aside.
6. Squeeze a small amount of acrylic paint on a flat palette - you can use palette paper, plastic, a scrap magazine, tracing paper, cardboard, or anything along those lines.
7. Roll brayer in paint until evenly coated.
8. Roll brayer across block print to cover with a thin layer of paint.
9. Flip block print over and print onto your blank card. I like to line up the edges, and then set the whole block down at once. Evenly apply pressure across the back with your fingers. Make sure you press hard around where any words or fine detail appear. The process usually takes me a minute or two.
10. Evenly remove block print and unveil your creation. Should take 5-10 minutes to dry.

greensgrow holiday

12.31.2014

Throughout the holiday season I spent a lot of time at Greensgrow photographing for Instagram and the farm's blog. It was a beautiful collage of all things celebratory. Vendors filled the greenhouse with gifts, trees lined the farm, ornaments, trim, and warming bites were everywhere. Here's a little look back at Greensgrow through the holidays. And...I'm sorry I must...do follow along for more on Instagram @Greensgrow!

weekly scenes: a winter hike

12.11.2014

Our first snowfall happened over Thanksgiving this year. We went home, hoping it would come. Crossing our fingers and holding out for its magical presence to start sprinkling down. Sure enough, rise and shine Wednesday morning, and there it was -- flurrying in the skies and making its presence known. All day it snowed, and bit by bit the landscape was blanketed. Come Thursday, we strapped our hiking boots on and went out to enjoy it. Off to Highland Forest with three dogs, Adam, and my brother. We hiked the expansive trails for about three hours. Working up a sweat with the uphill climbs, and losing our breath from the utter beauty that surrounded us. There is something about a snowy landscape that makes your heart drop. It's a quiet presence. The snow brings peace and sheer awe in one fell swoop. 

Upon arriving home, we warmed up in front of the fire and set some cider to brew with cinnamon and clove. It was truly one of those days. You know, the ones where you feel like everything is just perfect.

diy nature-inspired gift wrap

12.06.2014

Note: This post was previously published here as a part of my freelance work.
Years fly by. We talk about them as if they last forever, but in reality they are mere dots on a timeline. Thank goodness for holidays that mark a point in the year, for without them, we might not take a moment to stop and realize where we are. 

Where are we? First and foremost, we’re surrounded by people who support us each and everyday. Friends and family who allow us to stretch beyond ourselves to achieve something better, who support our dreams, and who are there when we need a shoulder to cry on. 

That is why I love this time of year. It’s a time to say thank you. Thank you for being my support and thank you for loving me. 

When you go to package up that gift of thanks, let it reflect all the love and gratitude that you truly feel. Pick something special that shows thoughtfulness, make something with your own two hands, and don’t forget about the presentation of the package. Go a little extra mile with the gift wrap and make that gift scream I love you. 

Here are three gift wrap ideas to get you started, each inspired by my favorite, Mother Nature.

Gift 1
Materials
Small Pine Cone
Gold Acrylic Paint
White Wrapping Paper
Paint Brush
Water Cup + Water
Paint Dish
Gorilla Glue
Tape
Directions
1. Paint your pine cone gold by adding acrylic paint to the tips of each little “leaf.” Let dry.
2. Wrap your gift in white paper.
3. Glue pine cone to the center of the package.

Gift 2
Materials
1/2 Lemon
Brown Kraft Wrapping Paper
Red Acrylic Paint
Paint Brush
Water Cup + Water
Paint Dish
Ribbon of choice
Tape
Directions
1. For this one, you essentially create a stamp out of the lemon. Paint it with the red paint and test it a few times on a scrap piece of paper until you realize the sweet spot of how much paint and how much pressure you need to apply. 
2. Once you have it down, tape the piece of wrapping paper to your surface and stamp alternating rows. Let dry.
3. Wrap your gift. Finish with ribbon.

Gift 3
Materials
Roving
White Wrapping Paper
Feather
Tape

Directions
1. Wrap your gift first with paper.
2. Wrap roving around the gift to cover approximately 1/3. Secure both ends of the roving with clear tape on the back of your gift.
3. Finish off by sliding a feather into the roving.

recipe: upside-down mother’s day cake

5.07.2014

Note: This post was previously published as a part of my freelance work here.
Your mom. She’s the woman who breathed you life, the one that gave you your place in this world. When Mother’s Day rolls around, you don’t have to do anything extravagant to tell her you love her. Something thoughtful will do.

So why not bake a cake? And why not make it the most fantastical cake you could ever imagine? Try figs and dates and cranberries simmered in whiskey with apple cider, cinnamon, and aromatic rosemary. Delicious pears covered in a vanilla bourbon batter. The top of the cake looks wild like a garden. The fruit, the herbs, its intoxicating power – it is Mother Nature’s own masterpiece. 

This is a recipe to celebrate every mother and her graceful beauty. Mother’s Day is almost here…
Ingredients:
½ Cup Chopped Dried Figs (pick your favorite kind or do a mix)
½ Cup Dried Cranberries
1/3 Cup Chopped Dried Dates
½ Cup Apple Cider
½ Cup Bourbon
1 Cinnamon Stick
1 Sprig Rosemary
2 Pears
1 ¾ Sticks Butter, Softened
¾ Cup Packed Light Brown Sugar
1 ½ Cups All-Purpose Flour
1 ½ Tsp Baking Powder
¼ Tsp Salt
1 Cup Granulated Sugar
2 Eggs
1 Tsp Vanilla
½ Cup Whole Milk
2 Tbs Bourbon

Directions:
1.       Simmer cranberries, figs, dates, ½ cup bourbon, cider, rosemary, and cinnamon in a pan over low heat. Cook down until liquid is mostly gone.
1.       Remove rosemary & cinnamon. Pour into a colander, and let liquid drain into a bowl underneath. Set aside liquid for reserve.
2.       Preheat oven to 300F.
3.       Butter a 9-inch pan using ¾ stick of butter, and then evenly spread brown sugar on top.
4.       Core pears, and place them face down onto the brown sugar. Fill in extra spaces with the dried fruit mixture.
1.       Mix dry ingredients (flour, baking powder, salt) in a medium bowl.
2.       In a large bowl, beat together sugar and butter. Add eggs one at a time followed by vanilla, reserved liquid, and 2 Tbs bourbon.
3.       Mix in dry ingredients, alternating with milk until fully integrated.
4.       Pour batter over fruit.
5.       Place 9-inch pan on a cookie tray to avoid any drip overs (bourbon on the bottom of an oven is never a good thing), and cook for about 45 minutes. Do the toothpick test to make sure it’s fully cooked through.
6.       Let cool, flip onto a plate, and serve.

memorial day at francis slocum

5.31.2013

I always say that people are their at their realist around a campfire. Something about the woods entices the swapping of honesty. We gut out our fears, skin things down to the truth in a way that can't happen elsewhere. 

This past Memorial Day I traveled with a longtime friend to Francis Slocum State Park near Wilkes Barre, PA for just that kind of escape. In the middle of the forest, it was just us two. Cooking up meals, wearing flowers in our hair (and hands). We were just here to see what beautiful things nature had to send our way. The one-on-one time, us and nature, left no room for facades. It was all real. It was all authentic. 

It's rare that you find the right person and situation for such sentiments. There's nothing like some good ole camping with the best friends who get you through life. With all the hectic moving weighing on my mind, lord knows I needed it. Thanks Dani for getting me out of the city and reminding me why I love camping (and you) so much!